
Most people see the cover of this pattern and do not realize it is a pleated dress. The dress on the cover is made with dots and it is hard to tell. When Mollie from my Tuesday night class made it I was so jealous. I loved how her daughter twirled in it and I love the fabric she picked.


When I read the introduction on this pattern, I did not believe it: "Make this adorable pleated dress using a very easy pleating technique - no pins, no markings, just an iron." It was true!! I absolutely loved the technique and, oddly, had fun doing it. It was a lot of iron-sew-iron, but I really liked it. I'm adding pictures not to show you the technique but to prove it was that easy! (Please excuse the towel...we are moving and I did not have an ironing board yet. I did this entire dress on the end of a wood table with a towel :))


I loved how the pleats were made. They do warn you to make sure your seams in the pleats are 3/4" and not to trust your marks on your sewing machine. I suggest you do this. It does actually matter.
I used fabric from Art Gallery Fabrics' Tule line by Leah Duncan. I love this line and could not wait to use it. I will be doing more in the future for sure!
I love how it turned out; my only complaint is that it comes in a 3T-8 so it is too big for Braelyn right now. It did however fit Fabiana who usually wears a 4T and is turning 5 in November. It was very snug on her and hard to get on, but it did fit. I would say this pattern runs a little big.


Usually, I do exactly what the directions say the first time I make a dress, but I have learned when doing Olive Ann Design patterns sometimes I would rather do it my way. ;)
Here is what I did differently:
1. I cut out straps to match the design of the fabric. I did not follow the grain line on the pattern.
2. I just serged the lining at the bottom. I did not hem it. Why hem something you can't see? And, sometimes, I think it makes it a little bulky.
3. For the band, I did not follow the directions at all. I think it wanted you to make it like bias tape, so the seam was concealed. I don’t really care if that seam is hidden because, again, you can't see it. So, I attached it like I would a ruffle or a band on a pillowcase dress. I just folded the band wrong sides together and attached it by putting all raw edges together and sewing a 1/2" seam allowance.
Braelyn growing up is Bittersweet....this dress will be part of the sweet part ;)
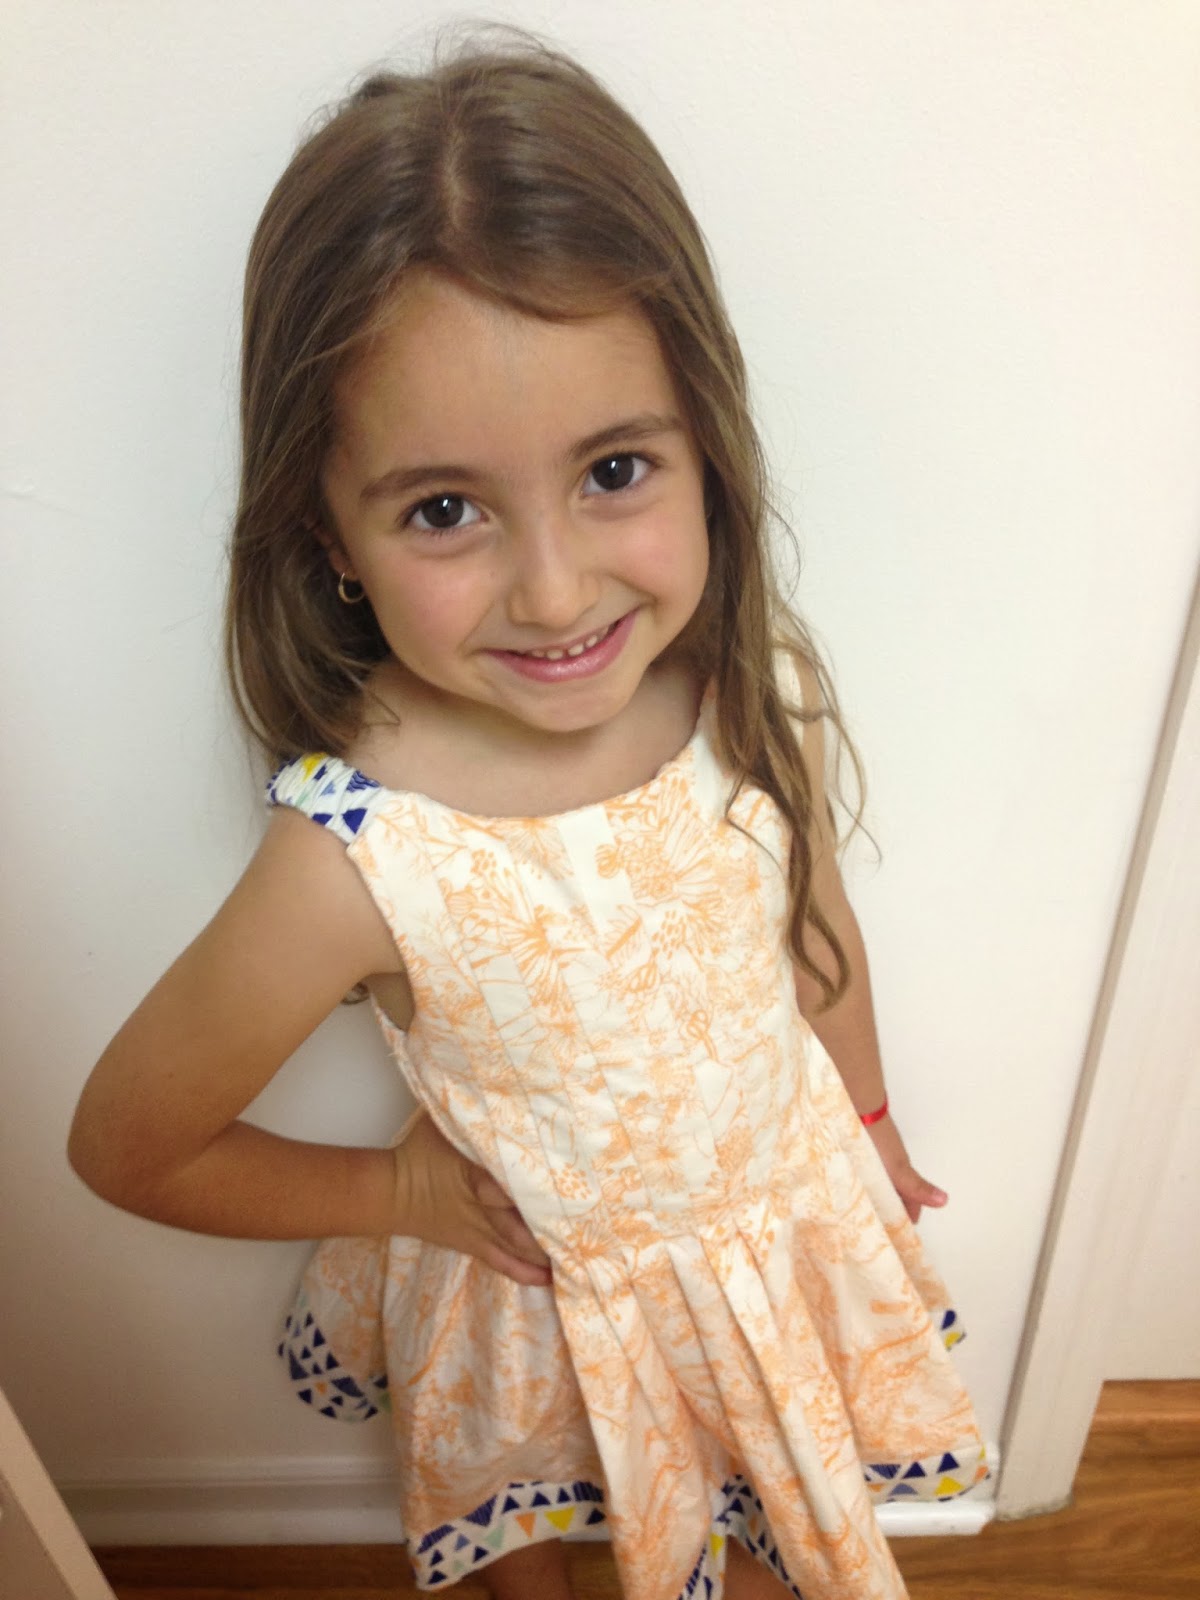
Here are pictures of Fabiana in the dress. She should be a model!


how long did tbis take to make? if you can remember lol
ReplyDeletehow long did tbis take to make? if you can remember lol
ReplyDelete
ReplyDeletesavannah cat for sale
savannah kitten
f1 savannah cat for sale
savannah cat price
savannah cats for sale
savannah kittens for sale, serval cat for sale, savannah cat for sale, savannah cats for sale, f1 savannah cat for sale, serval cat for sale, exotic cats for sale, f1 savannah cat, f4 savannah cat, cats for sale, savannah cats, Serval kittens for sale, savannah kittens for sale near me, savannah cats for sale near me, bengal kittens for sale, bengal kittens for sale near me.